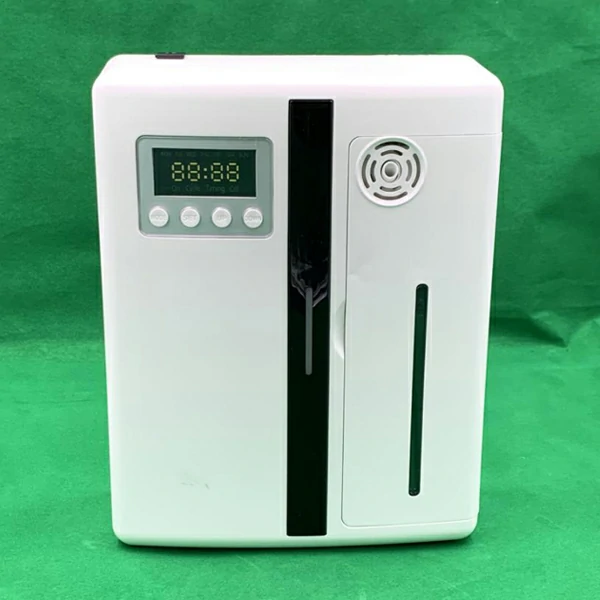
Product introduction:
This product is an intelligent air fumigation disinfection and purification equipment.
Operation Guide
Steps:
1. Connect to the power supply
After the power is turned on, it can work normally.
2. Set the time period
This device allows to set 4 operation periods, and can set working times according to multiple choices.
[MODE]: Work periods selection, timing of four working periods, cycle on/off function, as follows:
(for the setting time, the end time must be greater than the start time for the setting,then it to be effective.)
[SET]: Enter the device state. Such as time setting, week and other settings.
[UP]: Fine adjustment upwards. Adjustable time data, running data, working date selection.
[DOWN]: Fine-tune down. Adjustable time data, running data, working date selection. (Long press this button for 5 seconds, all parameters will be restored to the factory settings.)
Note: Do not cross time.
3. Set the system time
Adjust the device time to be consistent with the current time. The system time is 24-hour clock.
Press the [SET] key for the first time, the hour digits of the time zone flash, press [UP/DOWN] to adjust the hour; press the [SET] key for the second time, the hour setting is completed. The minute digit flashes, set the minute, press [UP/DOWN] to adjust the minute; press the [SET] key for the third time, the minute setting is completed. The working day flashes on that day, set the working day, press [UP/DOWN] to adjust; press the [SET] key for the fourth time to confirm that the system time is set.
4. Set the operating period
Press and hold the [MODE] button for 3 seconds, the interface [Mon, Tue, Wed, Thur, Fri, Sat, Sun] light flashes, and select the working cycle through the [UP/DOWN] key. After selecting, press [MODE] key, the interface displays “1” prompt to enter the first period of time setting, press [SET] key, the interface displays “00:00” clock “00” and flashes, and at the same time “TIMING ON” lights up From now on, press the [UP/DOWN] key to adjust the “hour” when the machine is turned on. After adjustment, press the [SET] key. The interface displays “00” in minutes flashing. Adjust the clock of the machine by pressing the [UP/DOWN] key “Minute”, [SET] key after adjustment. Set the shutdown time, the interface displays “00:00” of the clock and flashes, and the “TIMING OFF” light is on. Press the [UP/DOWN] key to adjust the “hour” of the machine’s shutdown clock. After adjustment, press [SET] Key, the interface shows that the minute “00” is flashing, press the [UP/DOWN] key to adjust the “minute” of the machine’s shutdown clock, and after the adjustment, press the [SET] key, the digital tube dealer appears “CYCLE ON”, set The working time of the machine in each operating cycle is from 5 seconds to 200 seconds. Press [UP/DOWN] to adjust for 5 seconds. After adjustment, press [SET] key, “CYCLE OFF” appears on the digital tube, set each The stopping time of the machine in each running cycle is from 5 seconds to 900 seconds. Press [UP/DOWN] to adjust for 5 seconds.
After adjustment, press [MODE] key to enter the second period. The timing of the second period is the same as the setting method of the first period, and the timing of the third and fourth sections is also the same.
Note 1: If there is no adjustment or setting in the second to fourth periods, it will work in the first period.
Note 2: The end time of setting must be greater than the start time of the setting,then it to be effective.
5. Working principle
After set the above parameters, turned on the power, the viewing LED lights will be on, the machine will start up according to the set startup time, and the fan and motor will start up at the same time.
When the shutdown time of setting is up, the machine will stop the motor and fan. The environmental LED remains on, waiting for the next cycle.
The battery can keep the clock data for one year.
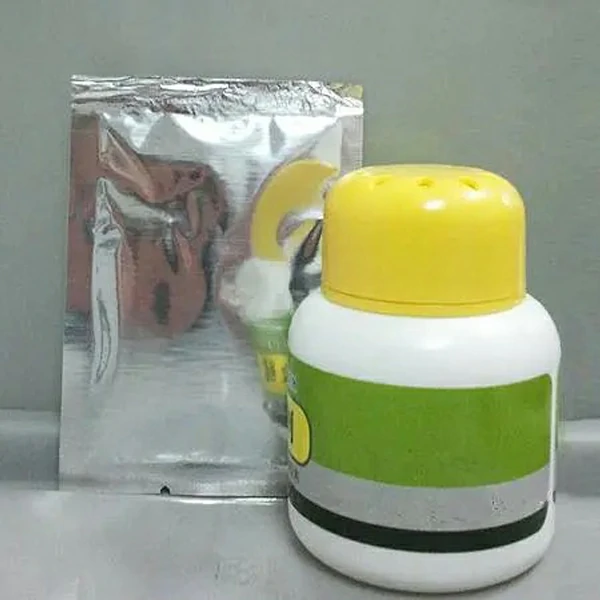
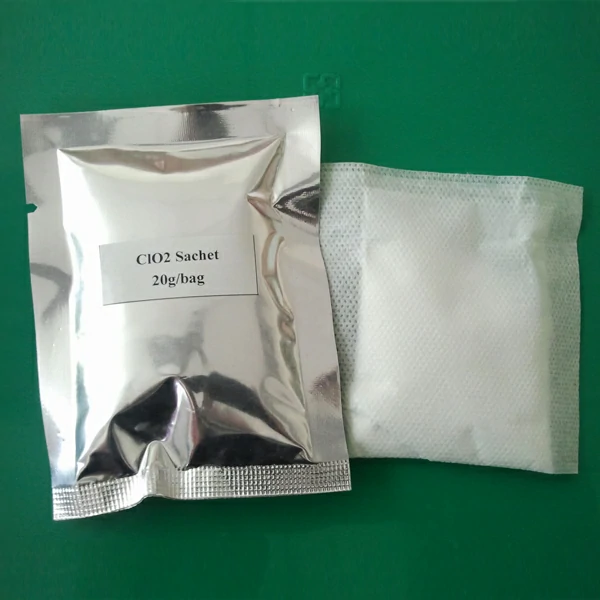
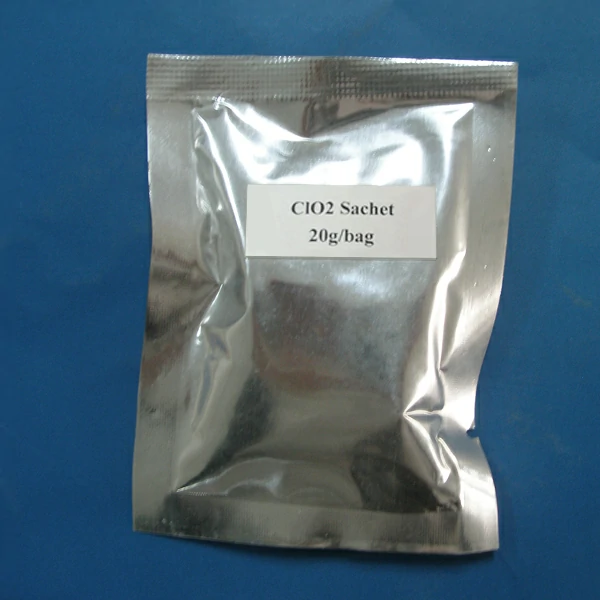
6. The loading and replacement of disinfectants
Open the door, hook the mouth of the bottle with your fingers, pull the bottle and the nozzle parallel to your arms, fill the bottle with normal temperature tap water (best at 20°C) according to the scale, and add matching disinfection and purification to the water After the tablets are fully dissolved, tighten the nozzle nozzle, push it into the cabin in parallel according to the original position, and close the door.
Note 1: Water must be added first, followed by tablets, and the order must not be reversed.
Note 2: In the state of manned, the number of tablets to be added is 1 to 3 (take 1 gram per tablet, 10% content as an example). In the unmanned state, centralized disinfection can increase the number, but it should not exceed 8 tablets at most.
Note 3: The working time, stopping time and the number of tablets set by the operation period can meet the needs of disinfection and purification under different scenarios